Pro Tips – Phyllis Macaluso
As a painter, I love my prized Winsor Newton and Kolinsky sable brushes, as much as I treasure my respected Chinese bamboo goat and horse etc. hair brushes, but there’s something magically special about using the Loew Cornell Miracle Wedge brush when I want to execute a quick painting, particularly for envelopes and matching stationary.

One brush, the miracle wedge, is all you need to pack for travel, or carry for short day trips. One brush will paint all the magic you need especially for correspondence work.
My background training is in watercolor painting and Chinese brush painting. It was in Chinese brush painting classes that I was taught to triple load my goat hair brush to create beautiful bamboo, florals or birds on delicate Xuan paper. The transition of this triple loading technique became an easy one for me when I discovered the miracle wedge brush at JNB.
I choose the Miracle Wedge brush to execute quick florals and foliates because of its unique cut design, its fine hairs that stay “juicy” when loaded, and give beautiful flow from the brush. It works on all papers and with all paints, Chinese, acrylic, and watercolor. The real unique feature of this paint brush is the triangular ferrule, giving the brush three wedged sides that can be triple loaded with pigment. Each of the three sides can be pulled through different colors of paint, and the colors will easily flow and blend into your work independently. Without even really thinking about it, by gradually applying pressure to a single stroke you will create a variety of multi colored effects on the paper. That’s the magic. There’s no drawing, no pre-sketching, no rebuilding or touching up of colors to add depth or shading; it all really does magically happen with one stroke and the secret of a triple loaded brush.
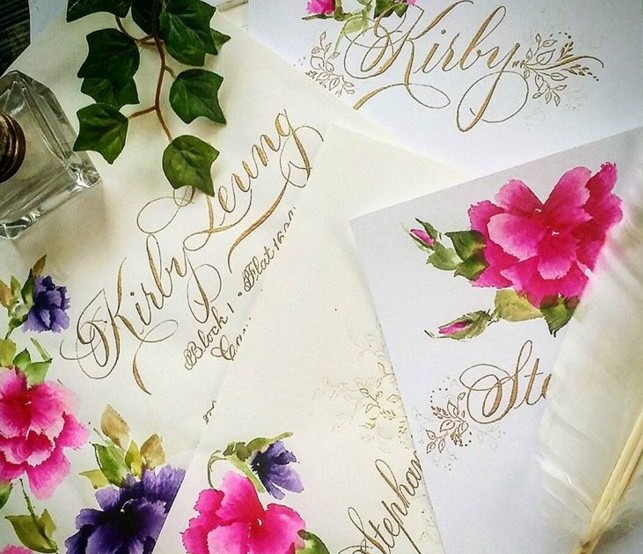
My preferred paints are Winsor Newton and Holbein, and my palette has a combination of watercolor and gouache colors. It was Claude Monet who said, “Color is my day-long obsession, joy and torment. “ I too, am obsessed with color. The brighter, the happier and better. My favorite colors are WN permanent sap green, WN ultramarine violet, WN cadmium yellow and red, WN permanent white gouache, Holbein opera rose….to name a few. I choose colors that complement the colored papers I am using. My favorite combinations are monochromatic floral color schemes with a hint of white for contrast. A dash of Holbein gold here and there makes everything better.
Technique
By starting on the tip of the brush and by pressing with a gradual pull and lift, beautiful gradations of colour are miraculously born. You will find that the hairs on this brush hold colour beautifully, and are durable, versatile, have excellent spring and a very fine chisel edge. The technique is almost similar to that of a pointed pen in that one starts at the point, adds pressure /pull for swells, and then releases the pressure bringing the hairs back to a point. I sometimes vary this stroke to create different effects. For example, I start on the tip of the short side and pull while lifting the brush up from the surface of the paper. I use the same techniques for the leaves, varying the size and colours of the foliate for added contrast. I always add a small amount of the floral colour to one of the three sides of green to incorporate unity and flow of colours in my work.
Important Tips
For me, it is important to densely load a semi moist, almost dry brush with pigment. This will preserve the intensity of color and will minimize overwatering your brush and paper, which will in turn prevent buckling. I typically use papers and envelopes from Quills Papers (www.quills.ca), Recollection papers from Michaels, and the beautiful stationary papers from Strathmore ( www.johnnealbooks.com). I also love Lalo, Crown Mill, William Arthur papers.
Layout and Design
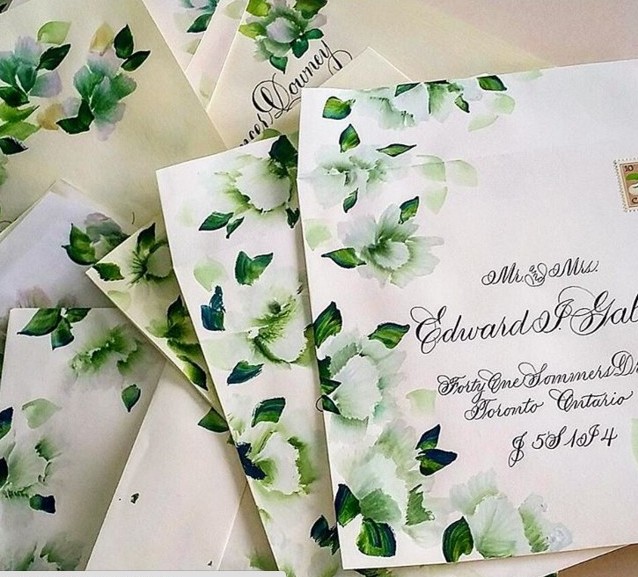
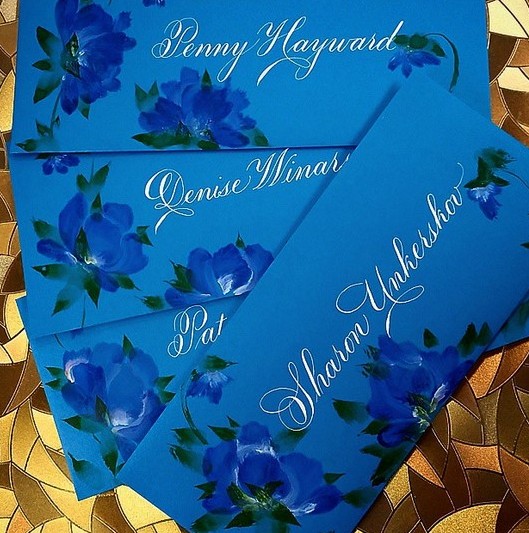
Beautiful execution of the calligraphy is most important, so I always begin my work with lettering first. I plan the layout of the lettering, choose my paper and ink colors, execute the name and address, or body of the piece, and then decide where I want my florals to happen. No sketching, no prepping, and much like offhand flourishing, I plant my triple loaded brush in one corner or carefully selected area of the envelope, and I begin. Sometimes the piece needs just one floral, and others times my obsession with color finds my brush winding its way up onto the flap of the envelope. At times I create envelope liners with these florals to continue the theme. To add a little extra sparkle, I will sometimes pick up a small amount of Winsor Newton Iridescent medium on my brush and lightly, randomly apply it over the petals and leaf plumes in my work.
Warmly wishing you all an exciting journey of creativity and discovery using the Miracle Wedge Brush.
Here are some pics of work done with the Miracle Wedge Brush.

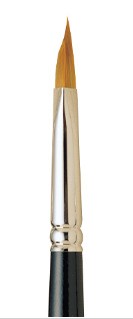
Special Note: JNB has a very short supply of the Miracle wedge brush in stock and the manufacturer has stopped making them. Phyllis says that as a second option she would use the Kolinsky sable brushes. Here are her comments…
“I also found that the Kolinsky sable brush size 4 or 6 works equally well even though it does not have the wedges , it could be offered as a substitute. It is really the technique of loading around brush that creates the effects that I paint and certainly the wedge brush facilitates what I do , but a round brush will give you the same effects. So my second choice would be Kolinsky brush size 4 or 6 depending on the size of florals you are looking for in painting them.”


Wonderful…from our very own Fabulous and Famous Phyllis!! The gift of her alone is a treasure and the art she creates has gone beyond any adjective I can find. Thanks for sharing this about the Amazing, Incredible Phyllis!